
 Tweet
Tweet

Theo sơ đồ như trên, ta có 2 web server (Apache 2) là node01.srv.world và node02.srv.world.
Server chính mà người dùng bình thường truy cập sẽ là dlp.srv.word. Sau đó, tùy theo các điều kiện nhất định user sẽ được chuyển tới Web Server #1 hoặc Web Server #2
Sau đây là hướng dẫn cấu hình load balacing 2 web server trên server cài HAProxy (Ubuntu 18.04 LTS):
Đầu tiên, cài HAProxy:
root@dlp:~# apt -y install haproxy
Cấu hình HAProxy:
root@dlp:~# vi /etc/haproxy/haproxy.cfg
Thêm các dòng sau vào cuối file:
frontend http-in
# listen 80 port
bind *:80
# set default backend
default_backend backend_servers
# send X-Forwarded-For header
option forwardfor
backend backend_servers
# balance with roundrobin
balance roundrobin
# define backend servers
server node01 10.0.0.51:80 check
server node02 10.0.0.52:80 check
* Cân bằng tải theo luật roundrobin: Ví dụ có 4 lượt truy cập vào dlp.srv.world thì lượt thứ nhất sẽ vào node01.srv.world, lượt thứ 2 sẽ vào node02.srv.world, lượt thứ 3 sẽ vào node01.srv.world, lượt thứ 4 sẽ vào node02.srv.world ...
Khởi động lại HAProxy:
root@dlp:~# systemctl restart haproxy
Bật module remoteip trên các web server (Apache 2):
root@node01:~# a2enmod remoteip
Enabling module remoteip.
To activate the new configuration, you need to run:
service apache2 restart
Thay đổi cấu hình Apache 2 trên web server:
root@node01:~# vi /etc/apache2/apache2.conf
Dòng 212-215: Thay đổi như sau:
RemoteIPHeader X-Forwarded-For
RemoteIPInternalProxy 10.0.0.30
LogFormat "%v:%p %a %l %u %t "%r" %>s %O "%{Referer}i" "%{User-Agent}i"" vhost_combined
LogFormat "%a %l %u %t "%r" %>s %O "%{Referer}i" "%{User-Agent}i"" combined
Khởi động lại Apache 2:
root@node01:~# systemctl restart apache2
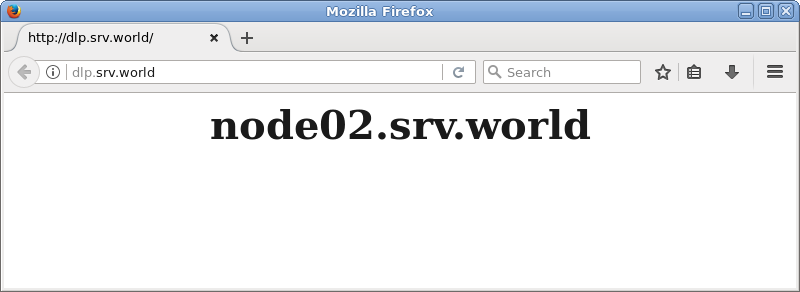
Kiểm tra hoạt động của HAProxy (F5 nhiều lần để kiểm tra):

Nguồn: ServerWorld.info